Metal Studs and TV Mounts
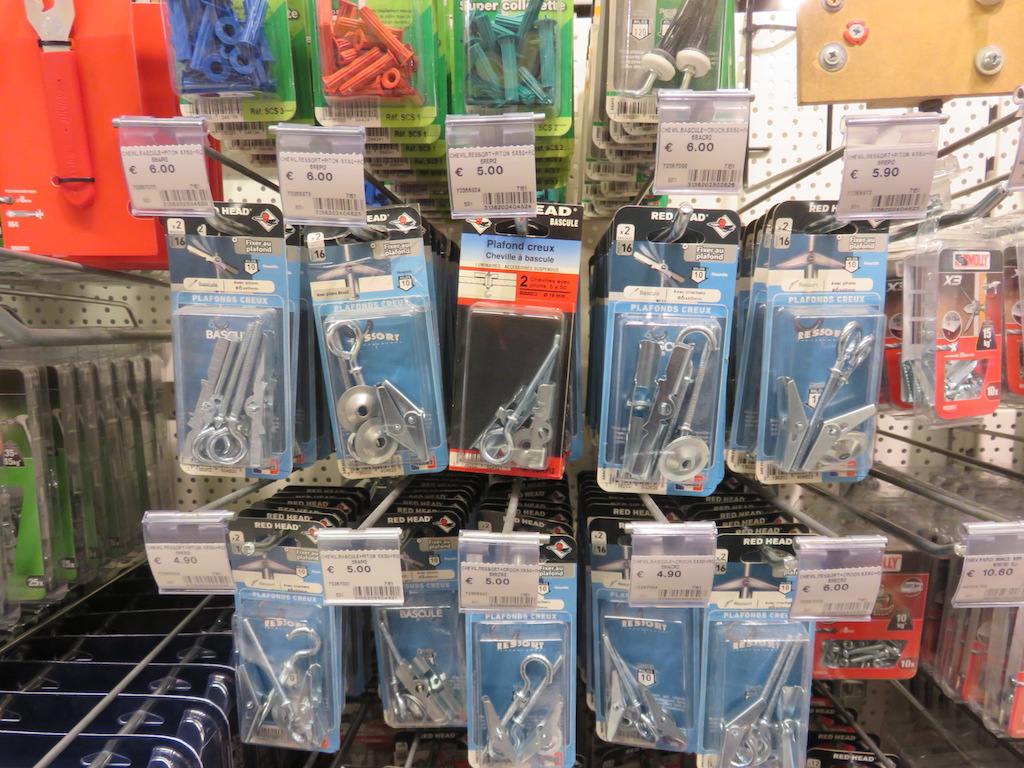
Mounting our television onto our internal wall took more time and effort than expected. Our internal walls have metal studs and thus defy traditional advice aimed at wood studs or brick walls.
We had long planned to mount our television onto the wall. The height of the television sitting on a low cabinet was not enough. When I reclined, my feet blocked part of the screen. The screen needed to be higher.
The house was designed to provide a small cozy area for our sofa and television. A comfy area to sit and relax in. To make the most of the space and to get enough distance from the sofa to the screen, the television needed to be mounted on the wall.
When the house was constructed we took careful note of where the metal studs were in the wall. Now the walls have been covered with plasterboard and painted, these measurements came into their own. We were able to quickly locate and confirm the centre of a metal stud. A cheap stud finder bought for the purpose reassured us long before the first hole was drilled.
I picked a nice articulating television mount. The mount is an arm that allows us to adjust the television’s position and turn it ninety degrees left or right. We could, if we wanted, view the television from the main part of the room.
Being on an arm means much more stress will be applied to the wall. A statically mounted television only has to worry about the television’s weight. A moveable arm might have to deal with clumsy manipulation, pulling, and pushing that makes the static weight seem trivial.
The mounting arm came with three huge bolts, rawl plugs, and a claim to include everything needed. This claim was quickly proved wrong.
The bolts were a shade shorter than our internal walls are thick. Drilling the right depth hole would have meant putting the bolt, not only into our wall, but through our wall and out of the other side.
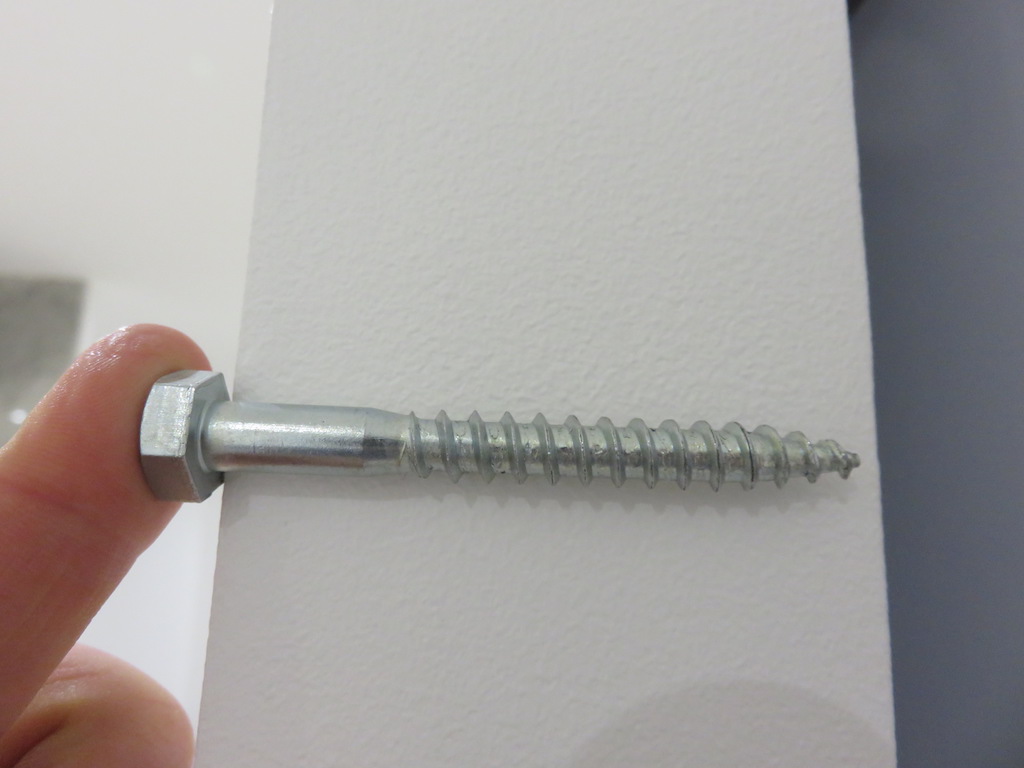
Our first unexpected purchase was for suitable bolts. Slightly shorter but no less thick.
I drilled the three required holes. Each one hit metal as expected before escaping into an insulation packed cavity.
Throughout the process we told ourselves we could repair any damage we did. Small holes such as these would be nothing compared to the gaping gouges we repaired before painting the house.
We told ourselves patching and repainting one wall was doable. Not welcome, but doable. We had painted everything else, so one more wall was doable.
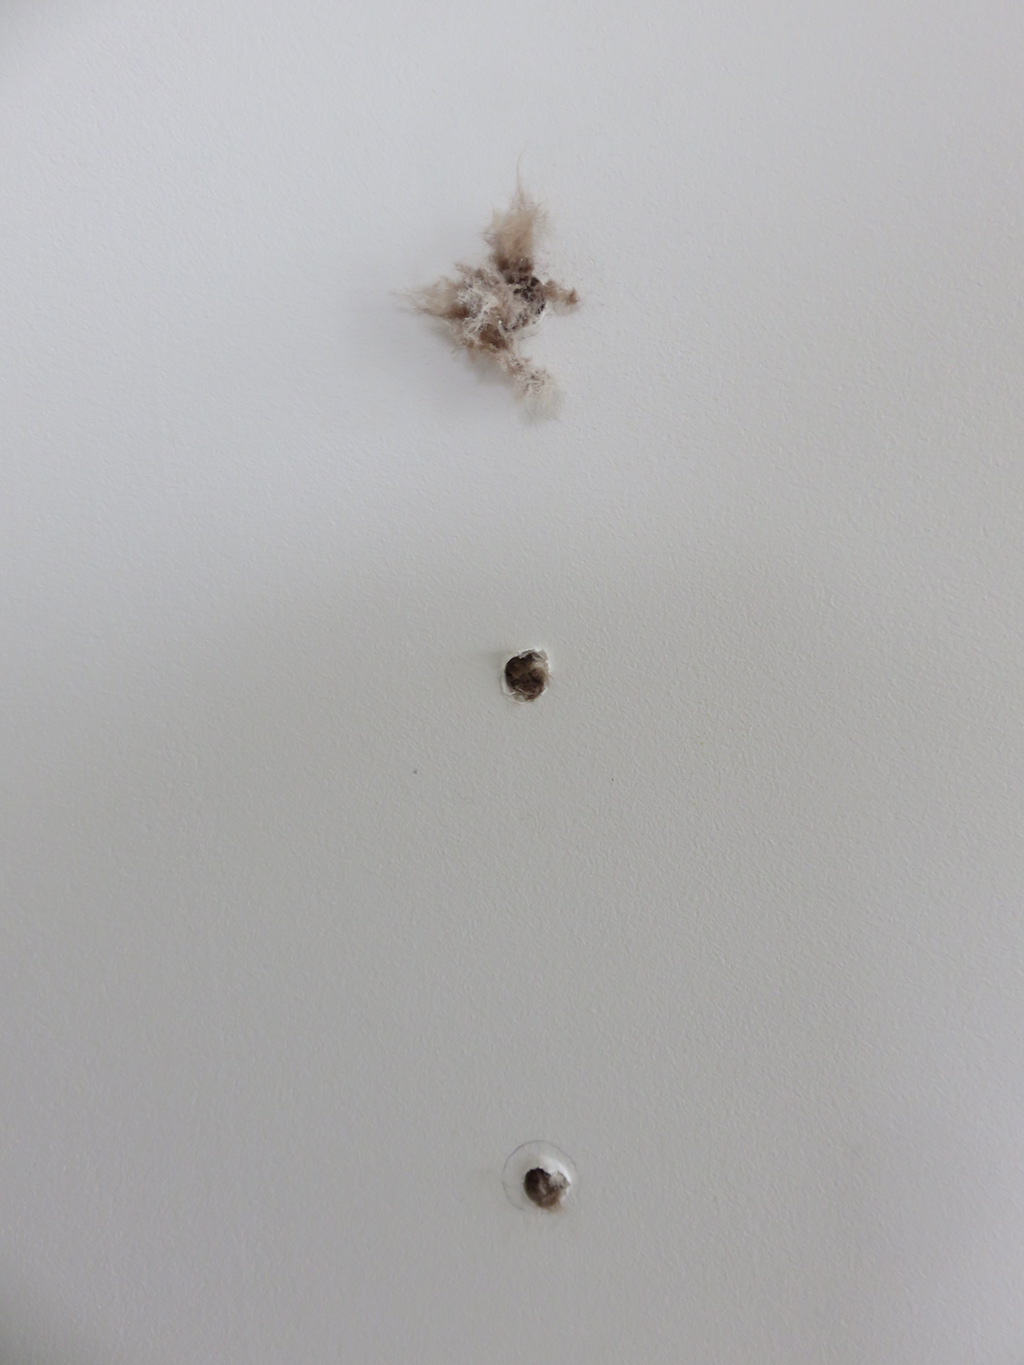
With three permanent holes drilled into the metal studs, we inserted the supplied expanding rawl plugs. These are the type that, when the screw thread grips, compress the plastic and it balls up on the other side of the stud. Once balled up the plastic can not be pulled back through the smaller channel ensuring a strong hold.
The three fancy rawl plugs were thumped into the wall and we were ready.
Megan held the mount while I screwed in the appropriately sized bolts for our walls. Three loose bolts we had bought from our local hardware store, with now very familiar staff.
Two bolts went in firmly. The third kept turning. However much I tightened the bolt there was always another turn possible. The rawl plug eventually turned with the bolt. Maybe the plastic had expanded and the bolt was now safe.
Megan slowly let the mount take its own weight. It held. For a few seconds. Then the mount tipped forward away from the wall a millimetre and then another. It stopped there. Leaning forward, with too much play in the mount to be trusted.
Megan took the weight of the mount again. I undid the bolts one at a time, hoping each would come back out. They did. The third rawl plug now jutted out from the wall, so no flush finish would be possible with the metal plate of the mount.
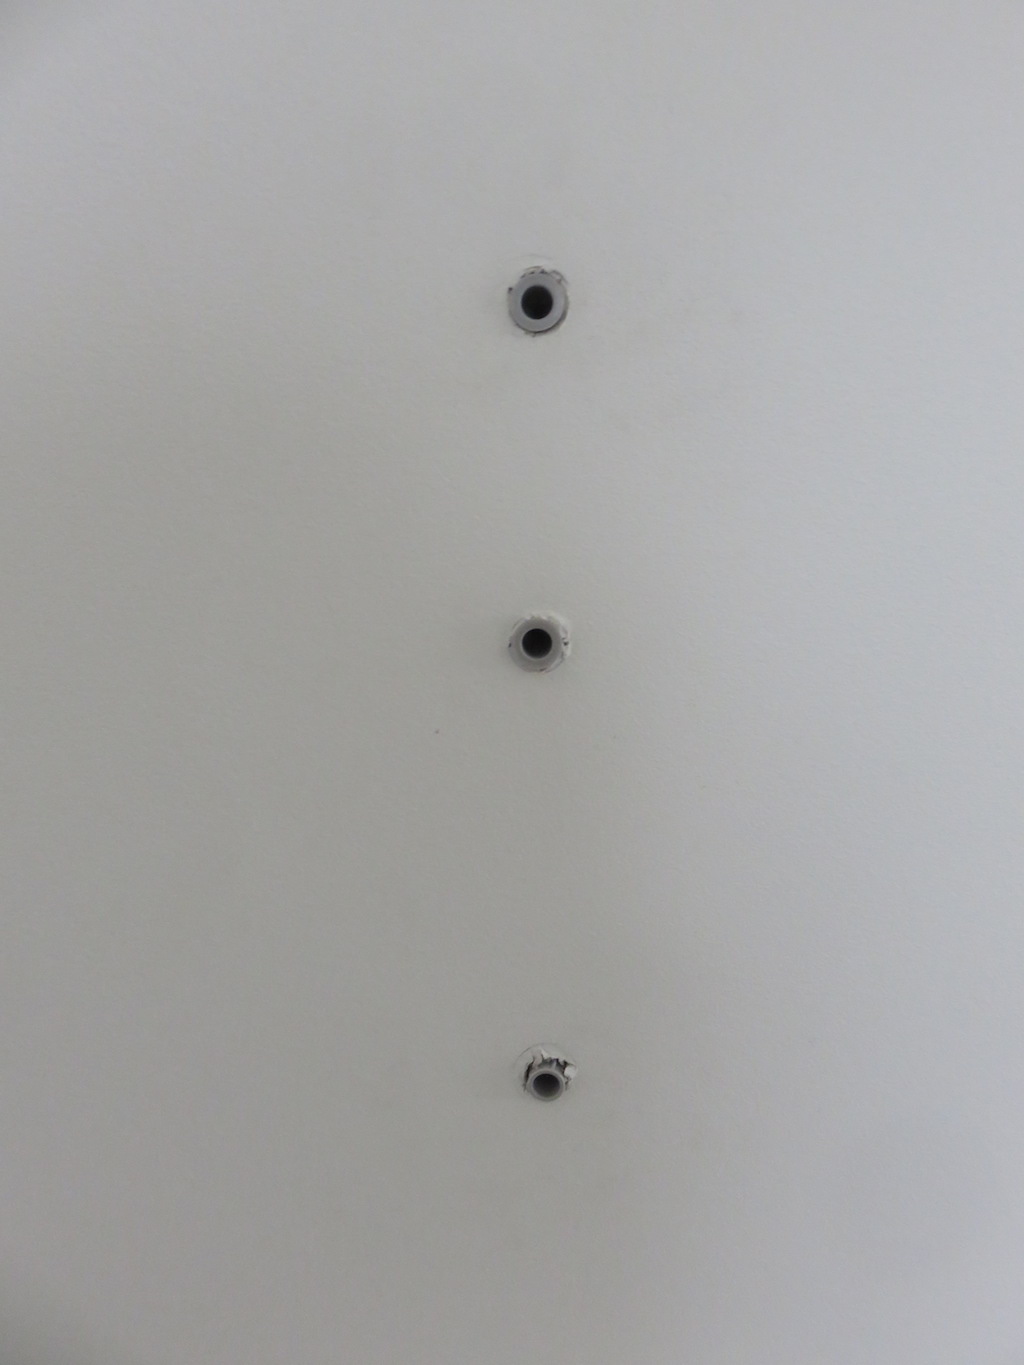
I used pilers and surprised myself by easily pulling out the turning rawl plug. The other two seemed firmly in place.
We took a moment and chatted nervously about our options. We had expanding metal bolts in the basement. Known as Molly bolts in the USA.
We would try those next. A metal bolt is going to be stronger and better than a plastic rawl plug. A little more serious in approach but better.
The problem of the two remaining rawl plugs worried me. We were boring away an increasingly large hole of plasterboard around the drilled holes. Once broken, plasterboard crumbles easily and every touch makes it worse.
I tried again with the pliers and, using enough force to slightly wobble the entire wall, yanked the rawl plugs out. Disappointingly neither had expanded. The bolt had not triggered the mechanism. Worse, the metal stud had stripped the outer plastic protrusions from the rawl plug. They had been stripped smooth by the sharp metal. Useless.
Had we trusted those two firmer plugs, our television would not have lasted long on the wall.
We now had three larger than planned holes in our once beautiful new wall.
We committed to trying the Molly plugs. We could always fix a damaged wall. I hammered the metal plugs in. The small teeth around the head gripped into the plasterboard.
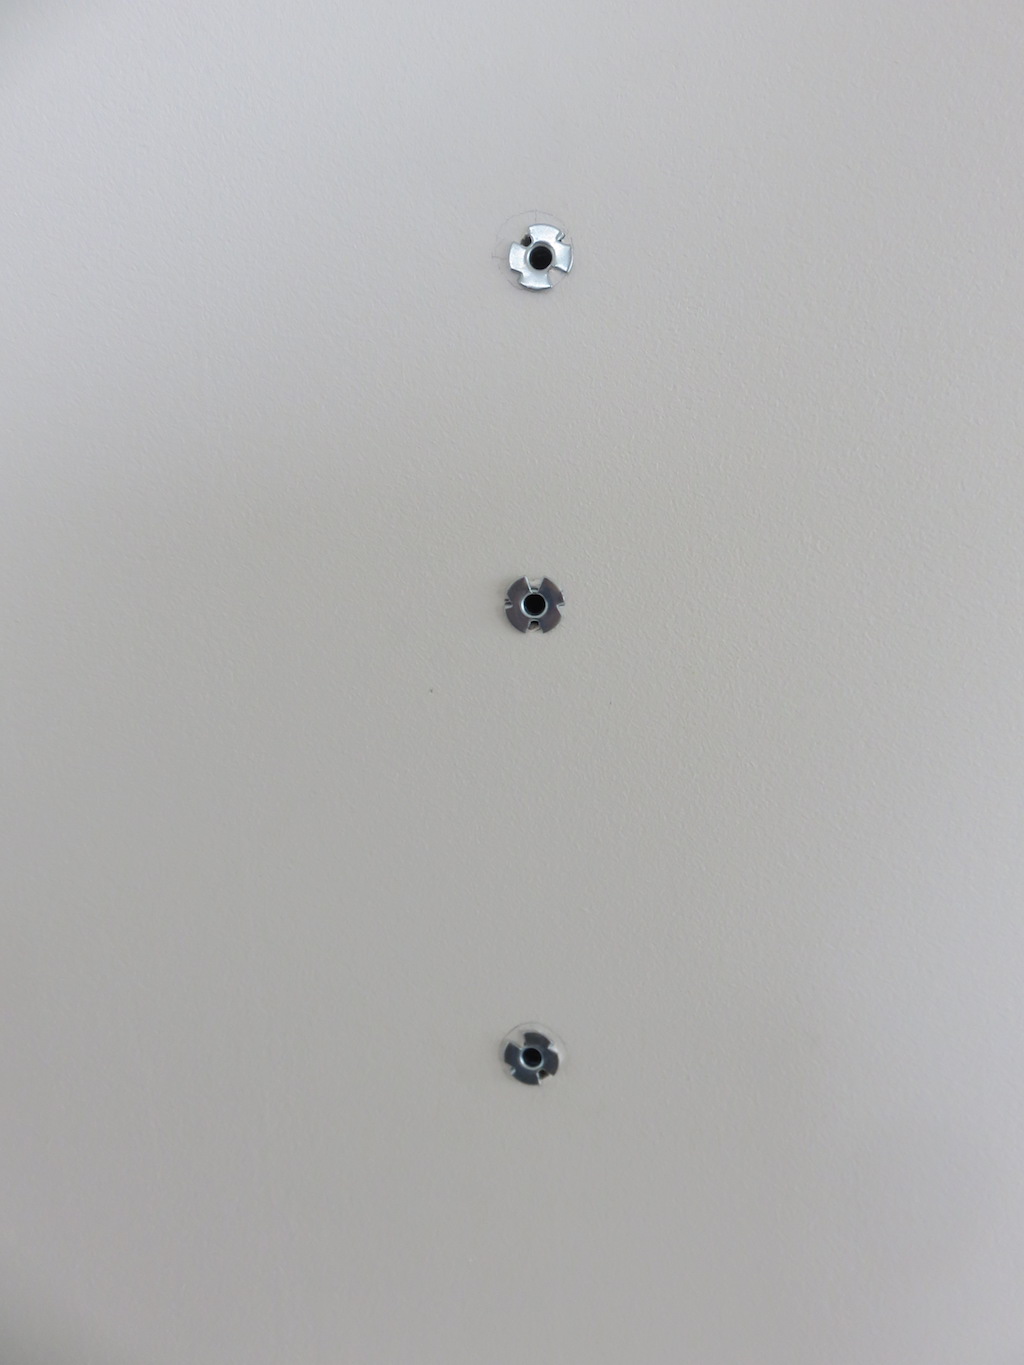
As before, Megan once again took the weight of the television mount and I started tightening the bolts. As I turned the metal plug’s teeth took and then the head snapped. A circle of metal uselessly dangling against the painted side and a chunk of metal plug now permanently stuck in my wall.
The head is designed to come off but not during installation. Not now.
We could fix this one plug.
But it did not take long to face complete defeat. We tried tightening the other two Molly bolts. With each turn the teeth held for a moment and then carved away the plasterboard. Without grip the metal plug and bolt rotated together eating away our wall. No grip, no expansion, and no compression to make the mechanism work.
I pulled firmly on the bolts and each ensemble slid right out of the wall. Two useless bolts and metal plugs in hand, and one forever entombed in our wall. The entombed metal plug I pushed into the wall cavity and down out of the path of the hole.
A moment of defeat.
We knew we were defeated for the day. After tiding up, we returned the television to the low cabinet. For the next week, each time we watched television three holes stared back at us.
Our chatter at night turned to accepting the television might actually be OK on a nice higher piece of furniture. Fix up the wall and forget it happened.
I did more research. Molly plugs continued to be suggested as a solution. They would have been, had we used a specialised tool to help tighten them up. We know that now but at the time such a tool seemed optional. A lesson learnt.
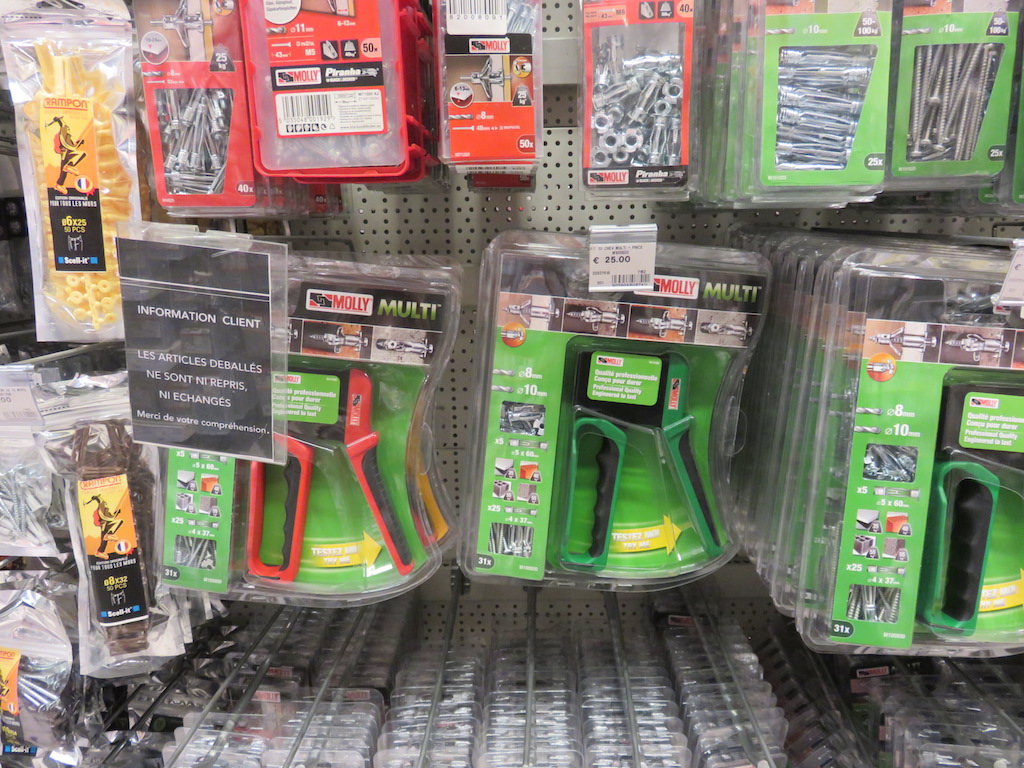
With the plasterboard around the holes damaged, we needed a different approach. I found and ordered a box of toggle bolts. Toggler is the brand we stumbled upon first. A clever bar of metal with a plastic widget attached. The plastic widget helps manoeuvre the bar into place within the wall. After that everything is metal bolted to metal.
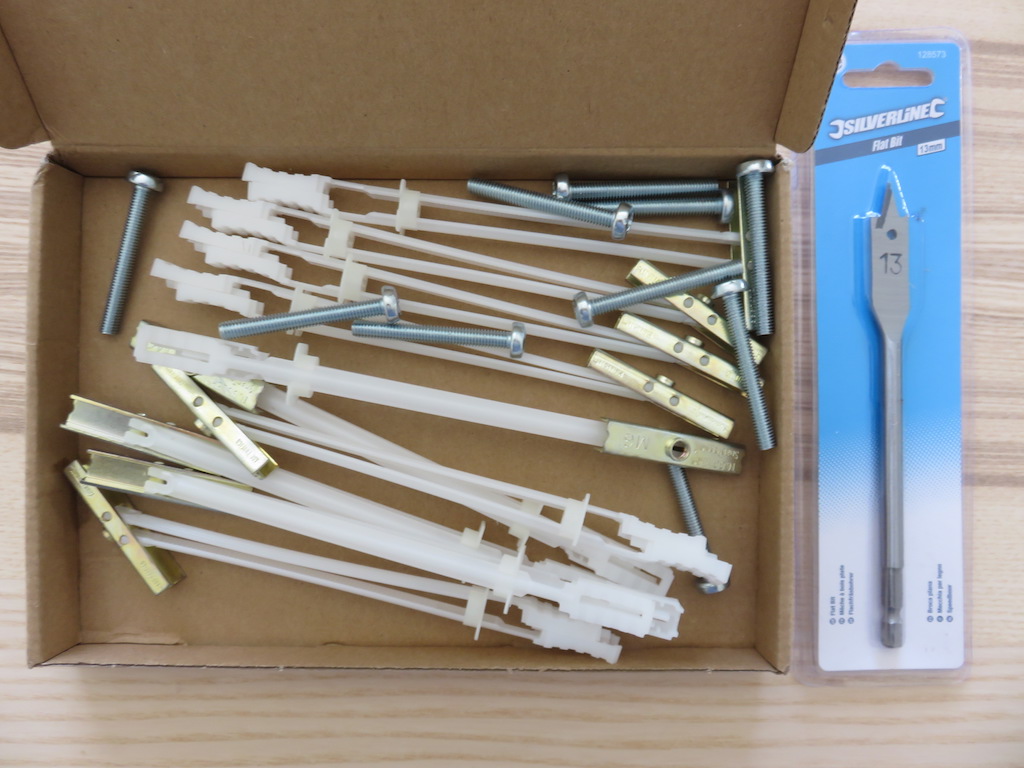
When the toggle bolts arrived I was keen to get them fitted and complete the job. Getting them into place was tricky. They wanted a larger hole through the metal stud than I had drilled.
My latest drill bit was not large enough and a sawing action was my only option to widen the hole. The approach worked but felt awful. The toggle bolt needs to go through the hole sideways and then be twisted into place within the wall. The hole thus has to accommodate not just the metal bar but also part of the plastic widget.
After fifteen minutes of fiddling, pushing, and jamming the toggle bolts were in place. They felt secure and I could see they were in place before needing to the screw in the bolts.
I had done this last part with the toggle bolts alone. Megan was out teaching and I was too impatient to wait. Now I had to wait for Megan to come home. Fitting the mount itself was a two person job.
Megan was met by the sight of three protruding plastic strips and a husband keen to explain his achievements.
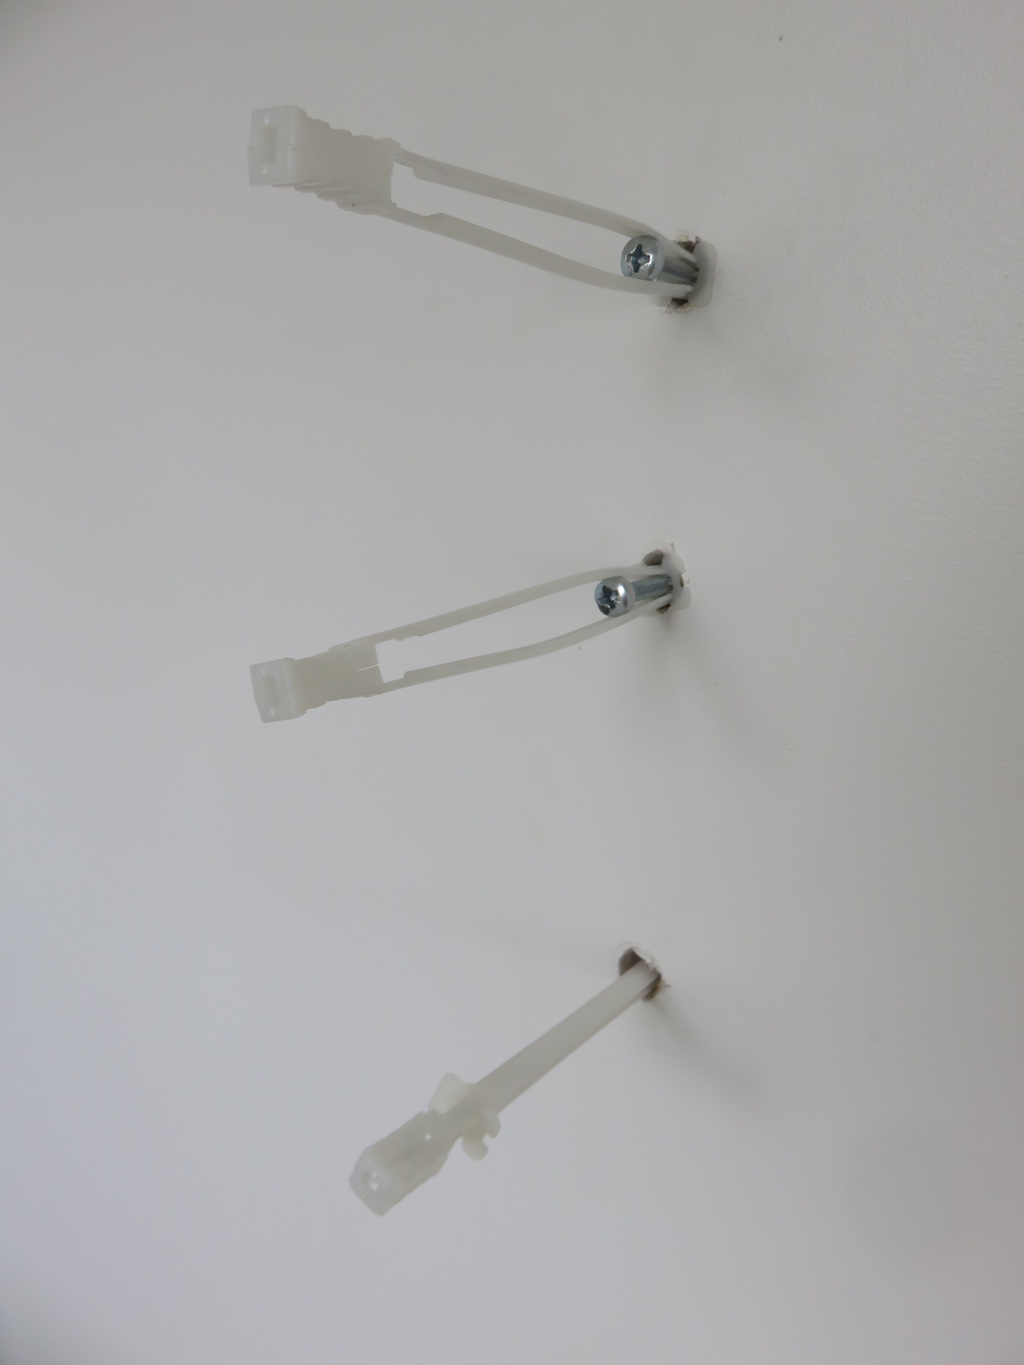
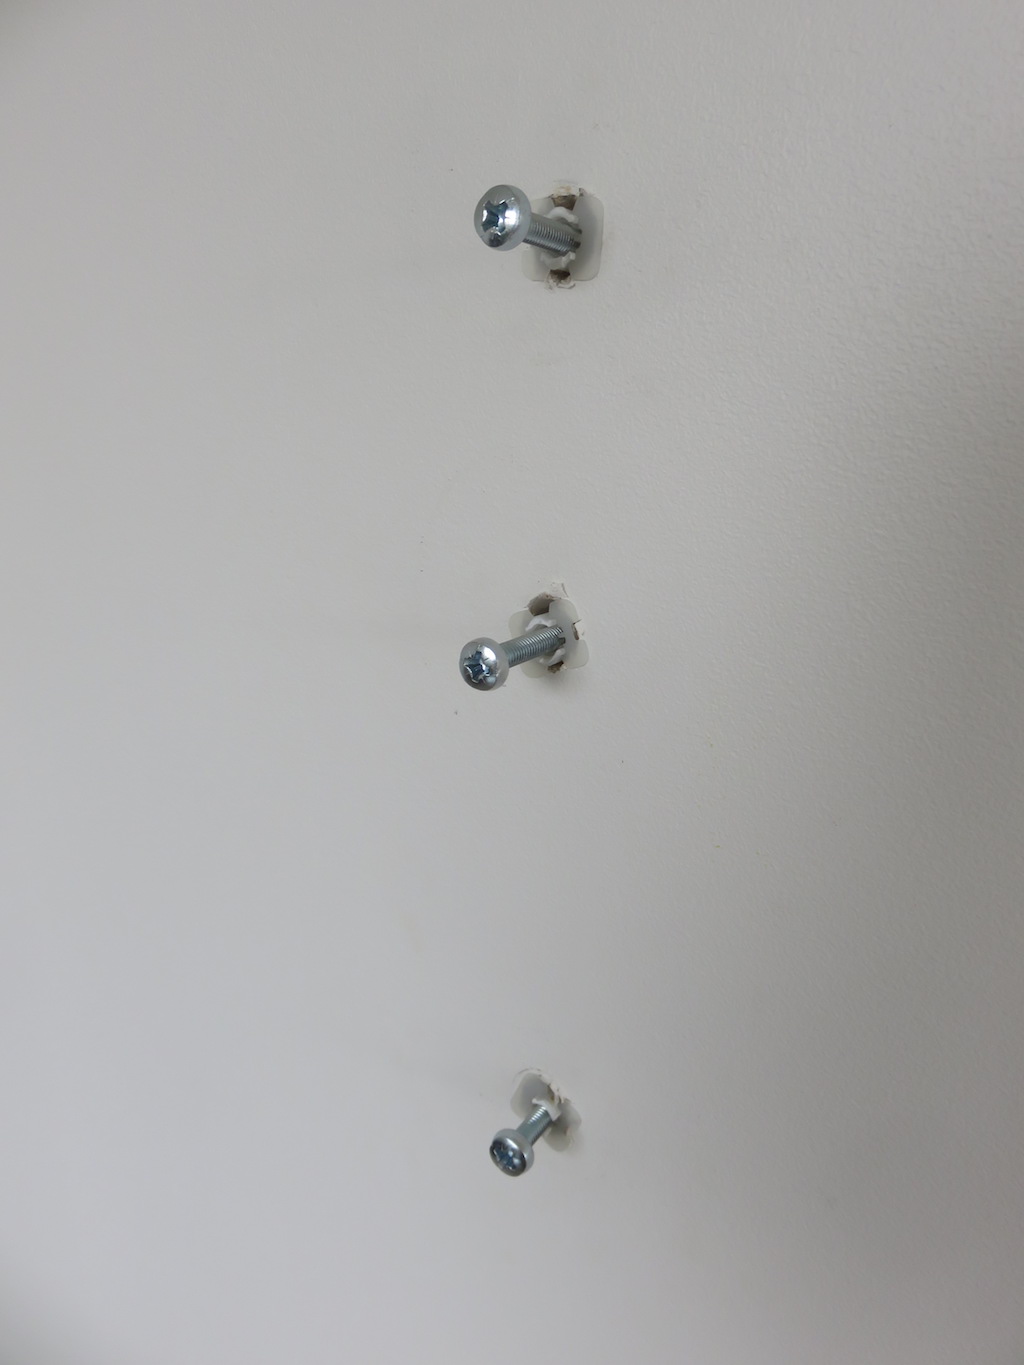
For the third time, Megan took the weight of the mount. This time, when she let go the mount held. It stayed in place with no trace of movement or wobble. We had gotten away without needing to repair or repaint the wall. The mount was secure.
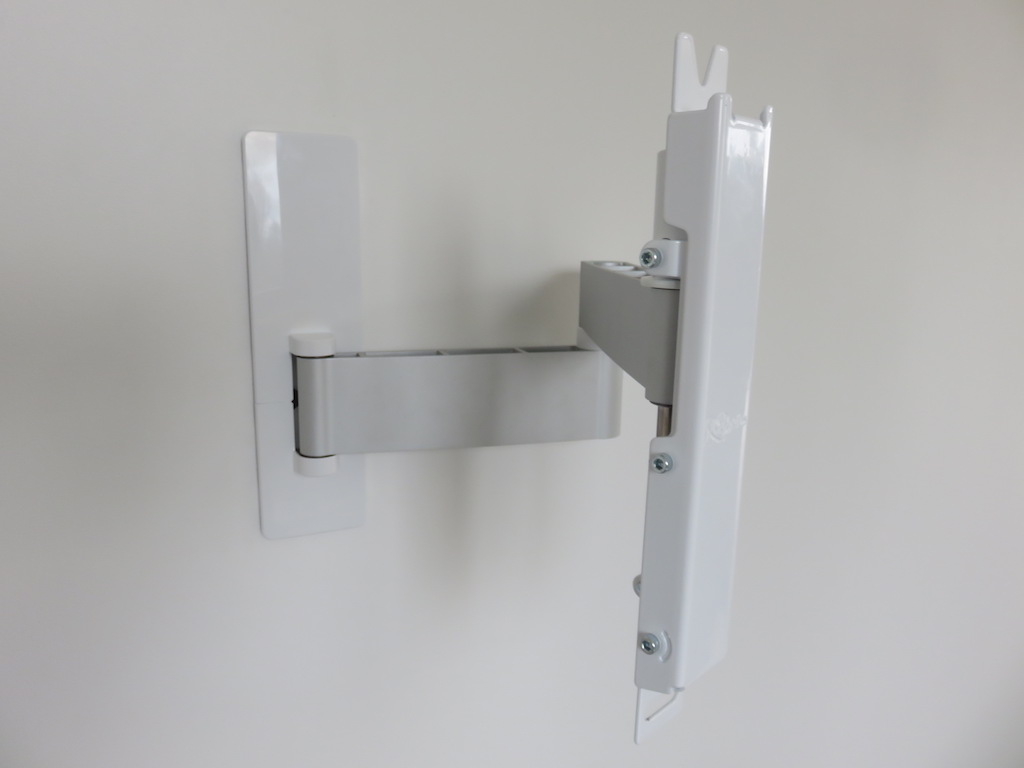
We carefully completed the task of fitting the television to the arm. It took a while before we were comfortable fully extending the arm and placing the greatest strain on the mount and the wall fitting. It all held.
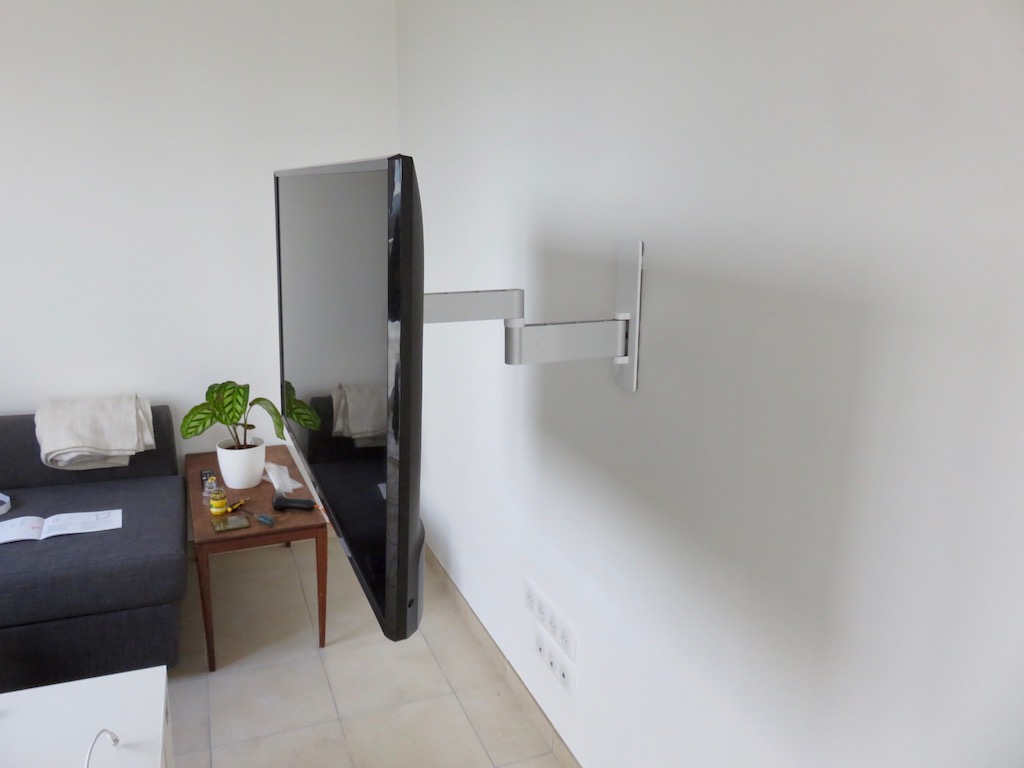
Since then we have altered the position of the television only a little. The new height of the screen is excellent and our cozy area is working well.
I am not rushing to drill any more holes in our walls just yet.